📘 Supply and Demand Method – Part 3
Expert Patterns: The Ultimate Guide to Advanced Supply and Demand Trading
—
🔹 16. FTR vs PAZ (Price Action Zone)
FTR (Failure to Return):
Zone is skipped → price avoids it → shows urgency → zone remains fresh.
PAZ (Price Action Zone):
Zone respected multiple times → more tested → less powerful → usually continuation.
Feature FTR PAZ
Behavior Skipped Multiple retests
Freshness Fresh (untouched) Used (weaker over time)
Signal Strong impulse Continuation or break
Entry First touch Only with extra confirmation
Example:
FTR: USD/JPY skips a major demand at 150.00 → flies to 152.50
PAZ: EUR/USD retests 1.0800 zone three times before break.
—
🔹 17. Flag vs Limit Entry
Flag Entry:
Wait for price action confirmation → engulf, pin bar, or retest
✅ Safer, but you risk missing the move.
Limit Entry:
Set a pending order right at the zone
⚠️ Higher R:R, but risk of false entry increases.
Entry Type Risk Reward Need Confirmation?
Flag Low Medium Yes
Limit High High No (predefined)
Best Practice:
Use Flag in unconfirmed zones.
Use Limit in high-quality, fresh zones near curve extreme.
—
🔹 18. CP and MPL
CP – Compression Pattern
Price grinds toward a zone in weak candles → likely to break through.
Shows lack of power
Often occurs in trends
Good for breakout trades
MPL – Maximum Pain Level
Point in a zone where most orders have been absorbed
Often midpoint or edge of base
Best place to put entry
Example:
Price creates 4 weak candles approaching supply at 1.1000 (CP), then breaks above. But returns to 1.0995 (MPL) before dropping.
—
🔹 19. 3-Drive Pattern
The 3-Drive is a reversal pattern using price and momentum:
Three pushes in one direction
Often forms in curves’ extremes
Each push has less momentum
Rules:
1. Measure each leg with Fibonacci
2. 3rd drive = ideal zone to reverse
3. Look for confirmation (engulf, FTR)
Example:
AUD/USD forms 3 consecutive higher highs into a supply zone → RSI divergence + engulf = powerful short.
—
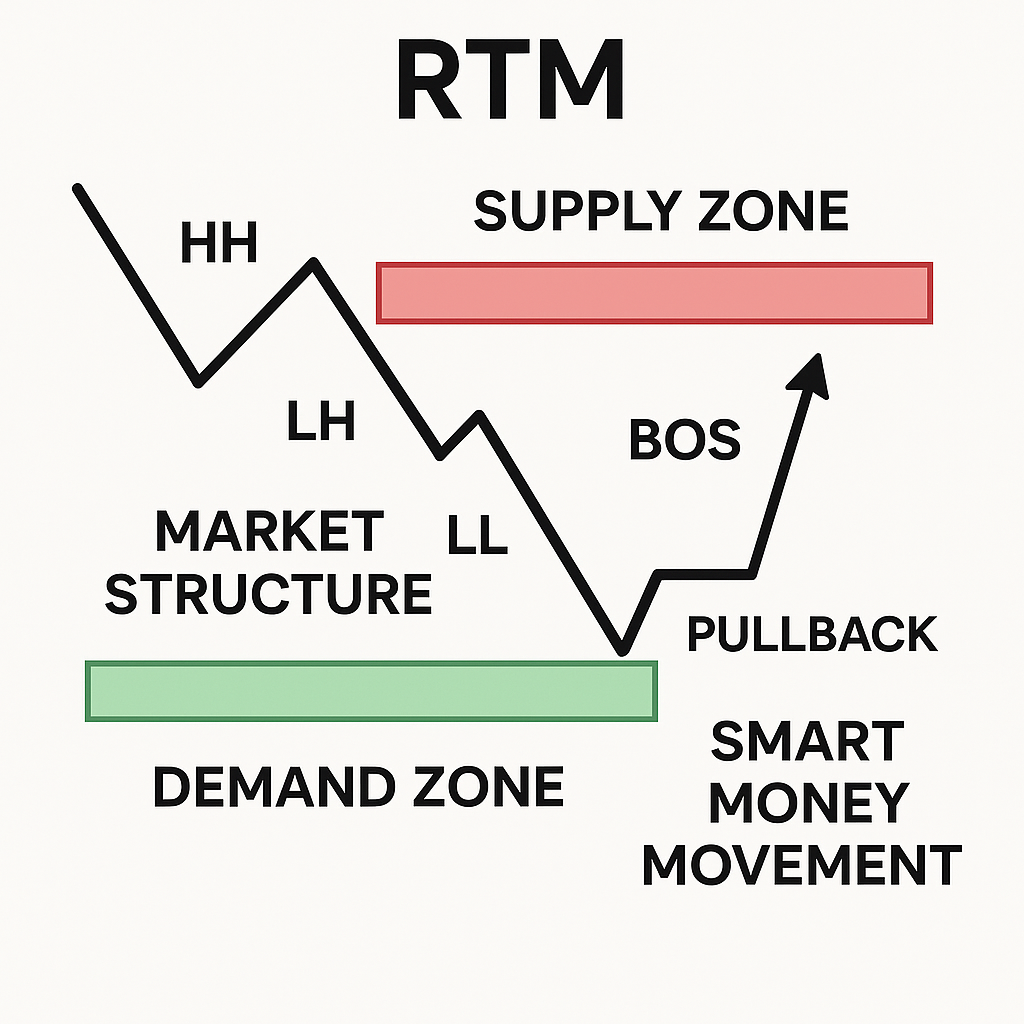
🔹 20. QM – Quasimodo Pattern
Quasimodo (QM) is one of the most reliable reversal patterns in S&D.
Structure:
HH or LL is formed
Then sharp reversal
Leaves an imbalance (ideal entry zone)
Bullish QM Bearish QM
LL → LH → HL → HH HH → HL → LH → LL
How to Trade:
1. Mark the base before the extreme high/low
2. Enter on first return to that level
3. Look for engulf + curve alignment
—
🔹 21. CAPS – Compression And Strong Push
CAPS = Compression + Aggressive Push + Strong Reaction
Why it’s powerful:
Price compresses slowly → then blasts out
Reaction shows imbalance
Return to origin = high-probability entry
Strategy:
1. Identify compression zone
2. Look for sharp breakout
3. Mark base before breakout
4. Enter on first touch
Example:
NZD/USD consolidates between 0.6050–0.6060
Breaks aggressively to 0.6150
Pullback to 0.6060 = buy
—
🔹 22. Important Repeating Questions (For Every Trade)
Before every trade, ask:
1. Is this a fresh zone?
2. Is it near curve extremes?
3. Was there a strong departure?
4. Is the base clean?
5. Are we in HTF context?
6. Is there a confirmation signal?
7. Is the risk-reward ratio > 2:1?
The more YES answers, the better.
—
✅ Summary of Part 3
Pattern Use Case
FTR Unfilled zone, reversal
PAZ Continuation, used zone
Flag / Limit Flag = confirmation; Limit = risk/reward
CP / MPL CP = break zone; MPL = perfect entry point
3-Drive Momentum-based reversal
Quasimodo (QM) Structural reversal
CAPS Reaction to compression
—
❓ FAQs – Part 3
Q: Which pattern works best in volatile markets?
A: CAPS and FTR are highly reliable in volatility.
Q: What’s better: QM or 3-Drive?
A: QM is more reliable for short-term entries. 3-Drive is better for swing trades.
Q: Can I use these in crypto/forex/indices?
A: Yes! These concepts are universal.


